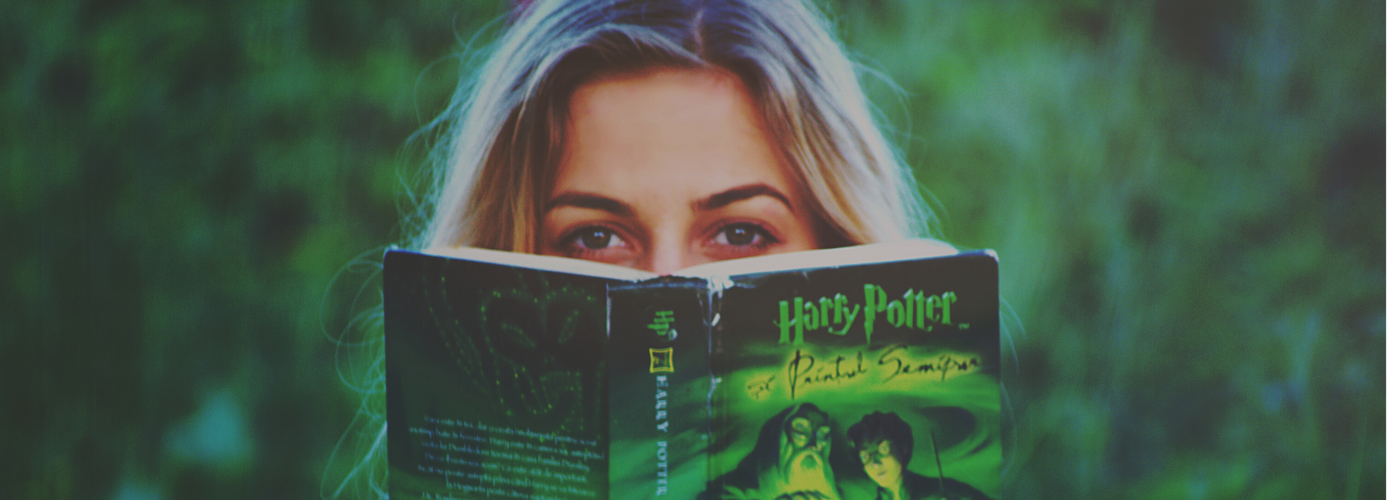
Have you ever imagined if you could become INVISIBLE?
You must have heard about “The Invisibility Cloak”, the one used by Harry Potter and his wizard friends and it’s been one of the marvels in science fiction and fantasy. These magical things in Harry Potter are actually becoming real.
Do you want to try this magical cloak on yourself? Yes, it is very much possible – Thanks to this interesting technology.
GET INSIDE TECHIE !!
Everything can be broken down and converted into an algorithm and an easy to follow process-flow. Here we work with the algorithm similar to the principle of “GREEN SCREENING” by removing foreground target color. Lets get deeper and understand more.!!!

The first and foremost step to becoming invisible using a cloak is to store pure background frame. By using this background frame we can replace the target color.
import cv2
  import numpy as np

  cap = cv2.VideoCapture(0)

#capture the background
  while True:
   ret, frame = cap.read()
   f = cv2.flip(frame, 1)
   cv2.imshow('result', f)
   if cv2.waitKey(1) & 0xFF == ord('k'):
   break

   cap.release()
   cv2.destroyAllWindows()
And What’s next ???
Color detection …Do you know why?
We have to transform the color space from RGB(Red, Blue, Green) To HSV( Hue-Saturation-Value) because RGB has high sensitivity to illumination.
Wait, what is HSV?? and why is it important ??
Hue – Angle of color (00-Red,1200-Green,2400-Blue)
Saturation – Intensity/Purity of color
Value – Brightness of color (shading and gloss component of an image,appearance)
Using this we create a mask with respect to the colour of our clothes. With this, we segment the targeted color. Now that color detection is done, we can change the H-S-Vrange and use other mono-coloured clothes too.
cap = cv2.VideoCapture(0)

#Actual feed
  while True:
    ret, frame = cap.read()
    frame = cv2.flip(frame, 1)

    frame1 = np.ones((2,2), np.uint8)
    hsv_frame = cv2.cvtColor(frame, cv2.COLOR_RGB2HSV)

    #created an HSV range by trial and error
    lhsv = np.array([10,100,150])
    uhsv = np.array([255, 255, 255])

    #create your mask color based on hsv range
    mask = cv2.inRange(hsv_frame, lhsv, uhsv)

    #apply morphologyex on the mask
    close_mask = cv2.morphologyEx(mask, cv2.MORPH_CLOSE, frame1)

    mask_inverse = cv2.bitwise_not(close_mask)
Segmentation
Based on the generated mask from previous step, we now refine the same and then use it for segmenting out the cloth from the frame.#create two results #1 result is bitwise and on the normal mask to extract the first feed around the cloth, #2 result1 for bitwise and on the inverted mask to extract the current camera feed result = cv2.bitwise_and(f, f, mask=close_mask) result1 = cv2.bitwise_and(frame, frame, mask=mask_inverse)
Final Output
Waited long to see the magical effect of the invisible cloak?
One more step to go!
Here, replace the pixel values of detected color with pixel values of static background using bit-wise-and operation after that you can view the augmented output.
#add both results on top of each other
    r = cv2.add(result, result1)

 #the next two lines is to see the mask and original feed
    cv2.imshow('frame', mask)
 # cv2.imshow('mask_inv', clos_mask)

    cv2.imshow('result', r)

    if cv2.waitKey(1) & 0xFF == ord('q'):
    break

    cap.release()
    cv2.destroyAllWindows()
Whoa! I’m invisible now with the “Invisible cloak”
Go ahead, experiment and enjoy this crazy experience, courtesy the Innovation Lab at TEKCLAN !!


